To change how you receive email notifications, navigate to the gear on the top-right of your ServiceNow window.

Click on it, and a small window will open in the middle of your screen. It will automatically be open to the ‘General’ settings tab, so make your way down on the left to the ‘Notifications’ tab.

If you would like to turn off notifications altogether, click on the green switch next to ‘Primary email.’
If you would like to change the email address to which you receive notifications, click on the ‘Primary email’ tab and enter the prompted information. Once satisfied, click ‘Save.’

If you would like to make more specific changes to your email notifications, scroll down after you’ve clicked on the ‘Notifications’ tab on the left. You will see all the applications within ServiceNow which send you email notifications, and you will have the ability to modify them individually.

For the sake of demonstration, let’s modify a specific aspect of the ‘Knowledge’ notifications.
Scroll until you see ‘Knowledge’ and click on it to see your notification options.

From here you have access to all the specific types of notifications one can receive for ‘Knowledge’-related notifications. For the sake of demonstration, let’s modify the notifications received if a Resolution was accepted.
When you click on the type of notification and you’d like to disable all notifications of that variety, simply click the highlighted green switch.
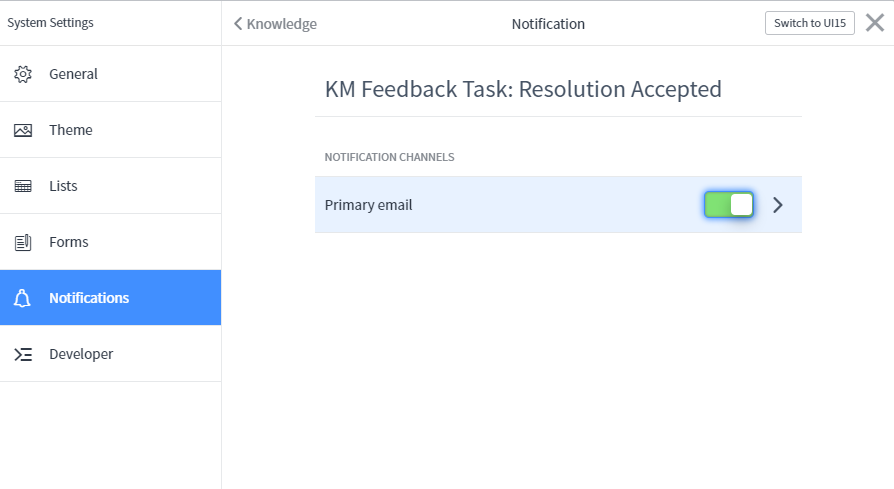
If you’d like to make further specific changes, click on the text ‘Primary email’ or the chevron (>) next to the switch.

You will be taken to a window like the one above. From there you have nearly unlimited control to fine-tune your notifications as you’d like. For example, limit what times of day you receive email notifications with ‘Schedule,’ or set up your own criteria for a notification in the ‘Advanced’ tab.